About one year ago, before I found out that I was going to go on a 6 month trip for the Air Force, I had a small pen in the backyard and raised about 20 Coturnix quail. I got them from a guy on Craigslist who had hatched them out and didn’t have room to keep them. We had them for about 12 weeks before I butchered them, long enough for them to start laying a crazy amount of eggs – we had 14 hens and I swear there were days that we got 15 eggs. They laid better than any chicken that I’ve ever owned. The plan was to keep the 20 for breeding stock and hatch the eggs in an incubator and raise the babies for our consumption and sell the ones we didn’t eat. Once I found out that I’d be leaving for 6 months I didn’t want to leave my wife with 20 quail to bother with while she was busy with our three young daughters so I butchered all of the quail and now I’m ready to start over raising quail.
In addition to butchering all of the quail, I also sold the pen that I raised them in. So….it’s time to build another pen, this time a little bigger and one that I can get in and out of easier to check for eggs and to catch the birds. My last pen was a mobile “tractor” that I pulled around the yard and I would move it when they started to wear down the grass, it worked well enough but this time I’m going with a stationary pen just to make things a little easier.
After looking at 1000’s of coop designs on the internet I decided to go with the hoop house style coop for a couple of reasons.
- Cheaper to make (remember, we are trying to become debt free and do things as economically as possible)
- Easier to build. I do enjoy building things but I consider myself something of a “rough” carpenter. Most things I build would never win any beauty contests but they are functional and will do the job I built them for.
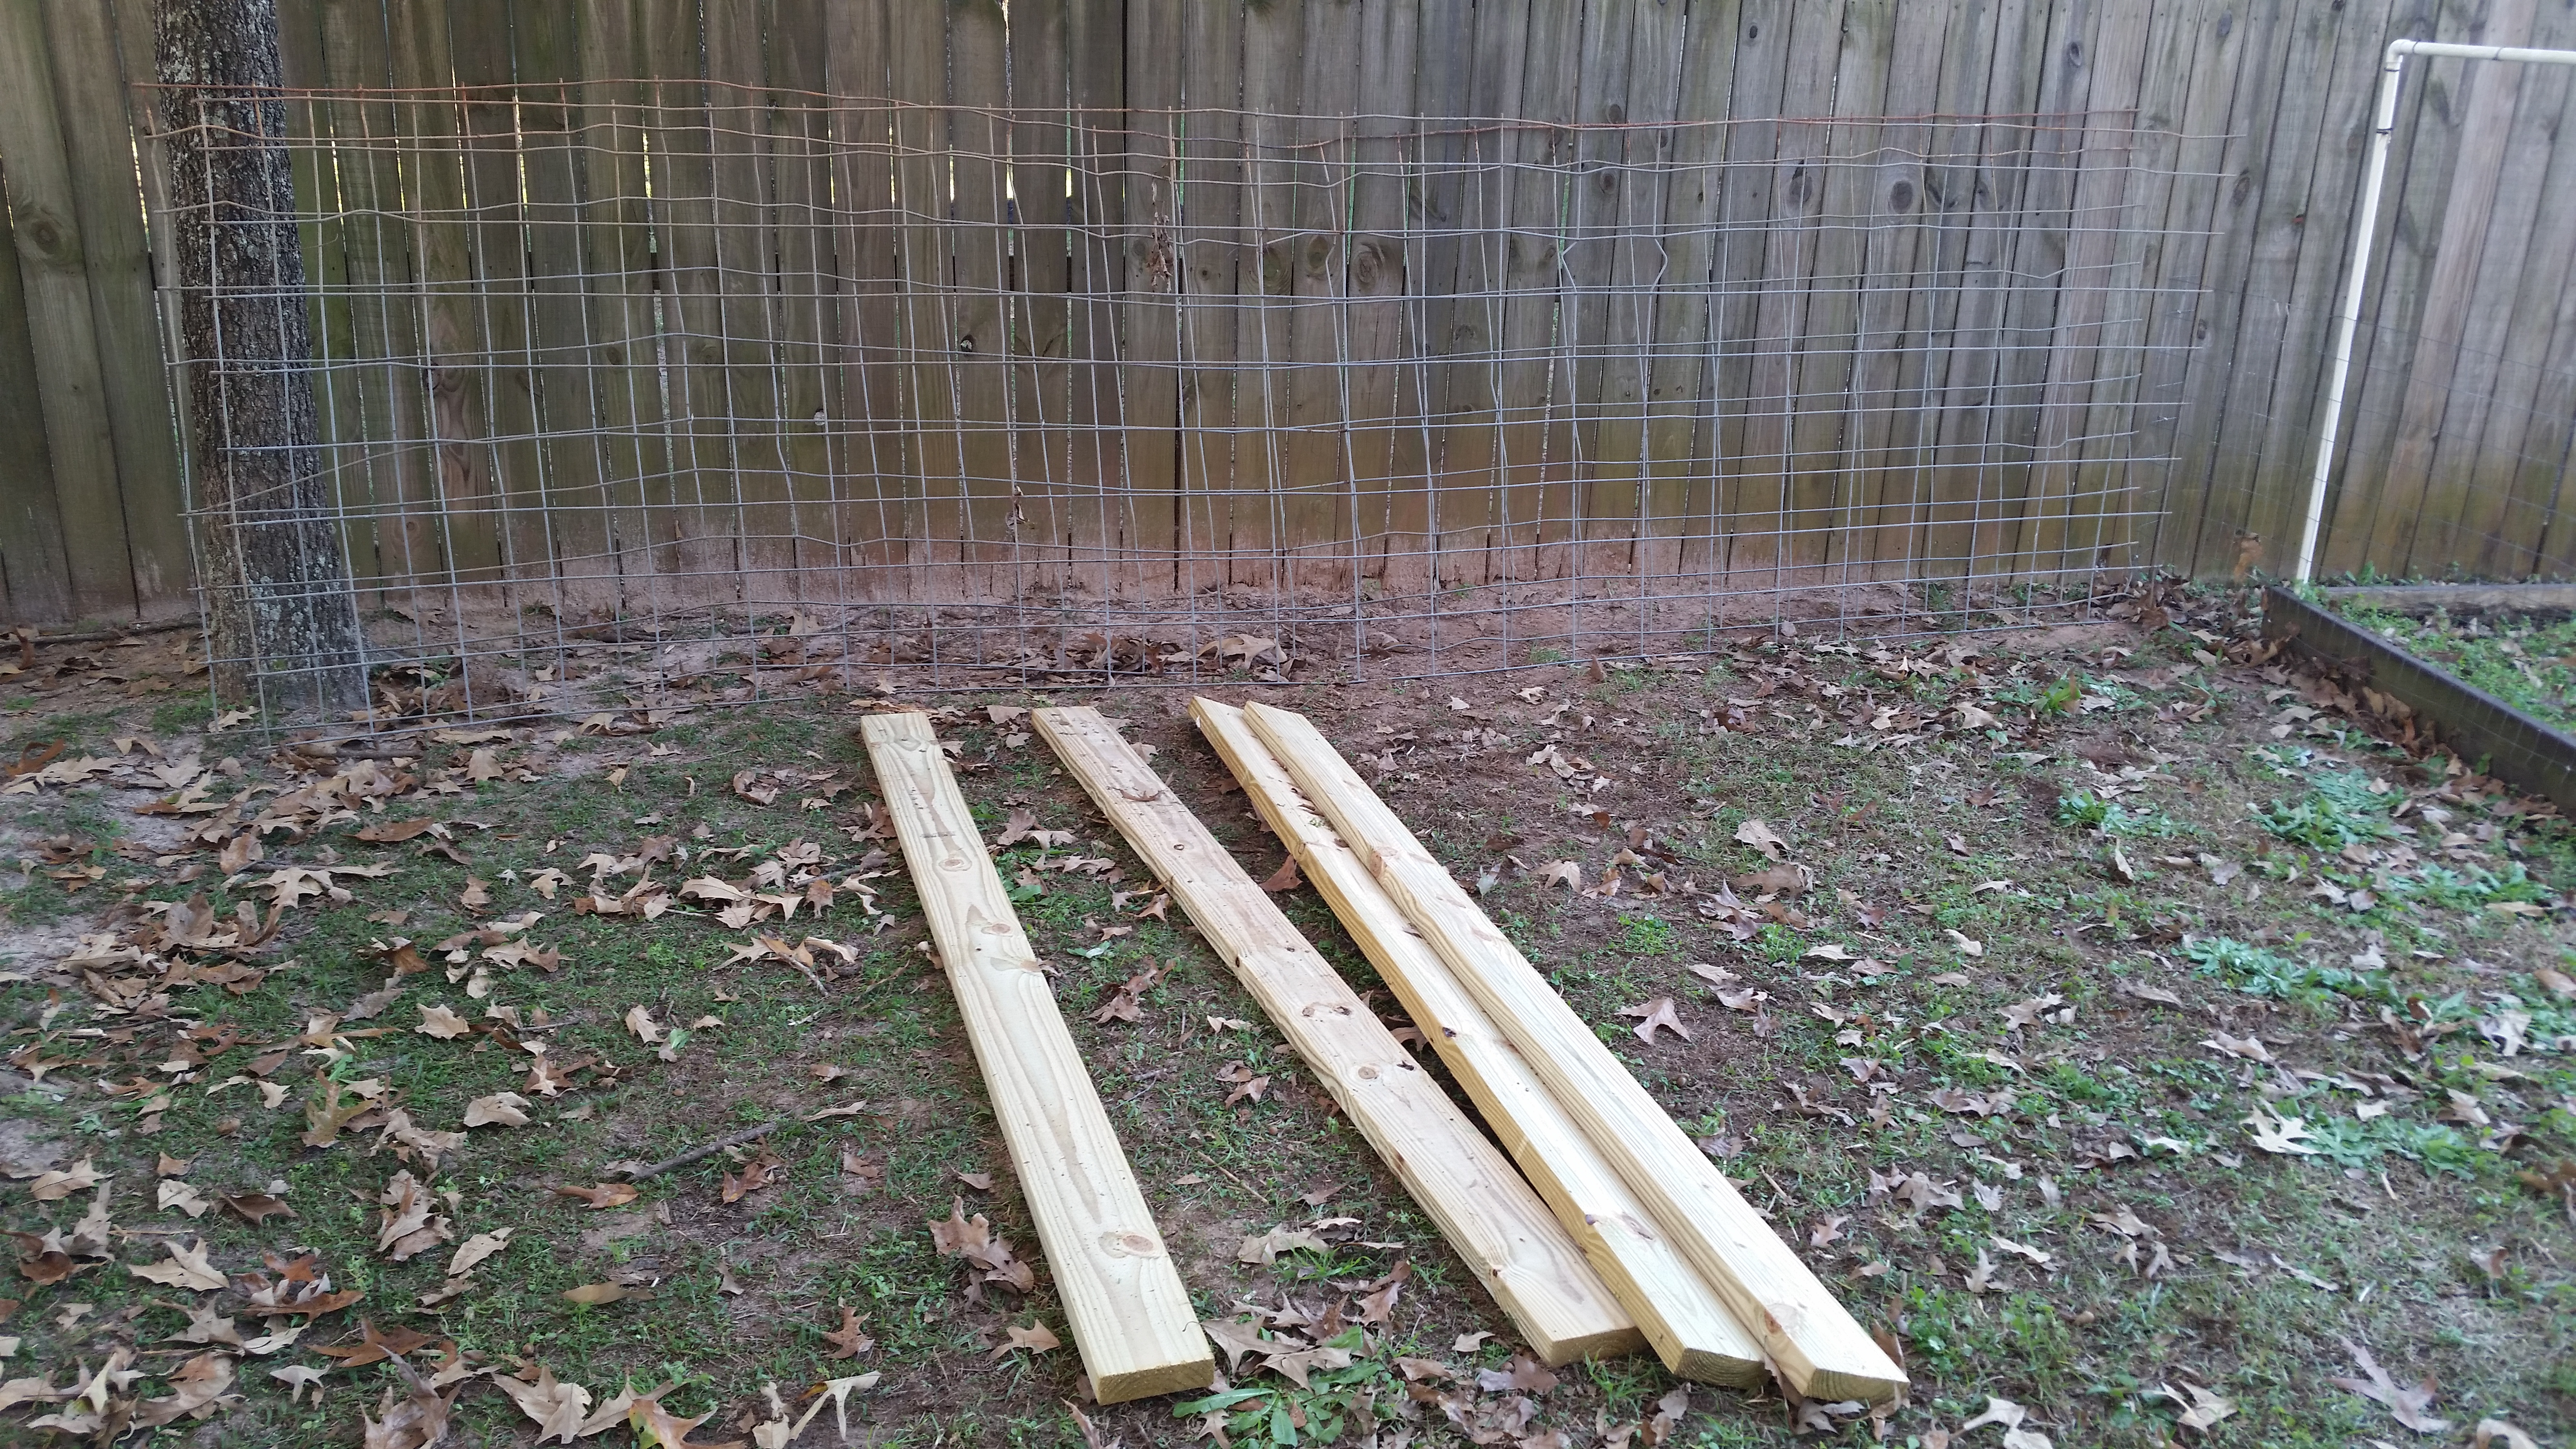
A few of the materials I used.
The hoop house design is pretty straightforward, all you have to do is fashion some sort of material into hoops and cover it with chicken wire. The following is my list of materials:
- Two, 16 foot cattle panels –I found them used on Craigslist for $5 apiec.e.
- Four, eight foot 2”x8” treated boards – about $7 apiece at Lowes
- Chicken wire – I had about half the wire I needed just laying around, leftover from other projects but I did buy one roll of 2’x 50’ chicken wire from Lowes for $23
- Welded wire – I used about 25 feet of 3’ tall welded wire (with 2”x4” holes) for stability on the front and back to tie the chicken wire to.
- 2”x4”’s – I used approximately 50 feet of 2’x4’s and they all came from pieces that I had laying around and stuff I’d scavenged from pallets.
- 2”x2”s – I needed about 20 feet of these for the door frame – approximately $3.50 apiece – $10 total
- Plywood – I bought one full sheet of 3/8” plywood from Lowes for $14
- Hardware kit – for the door to the pen itself and for the quail house inside the big pen. – This kit was $7
- Nails/screws – all were leftovers from other projects
The first thing I did was make a square out of the treated 2×8’s and screw them together with 3’ deck screws – this will be the base of the hoop house and what holds the cattle panels in the “hooped” position.
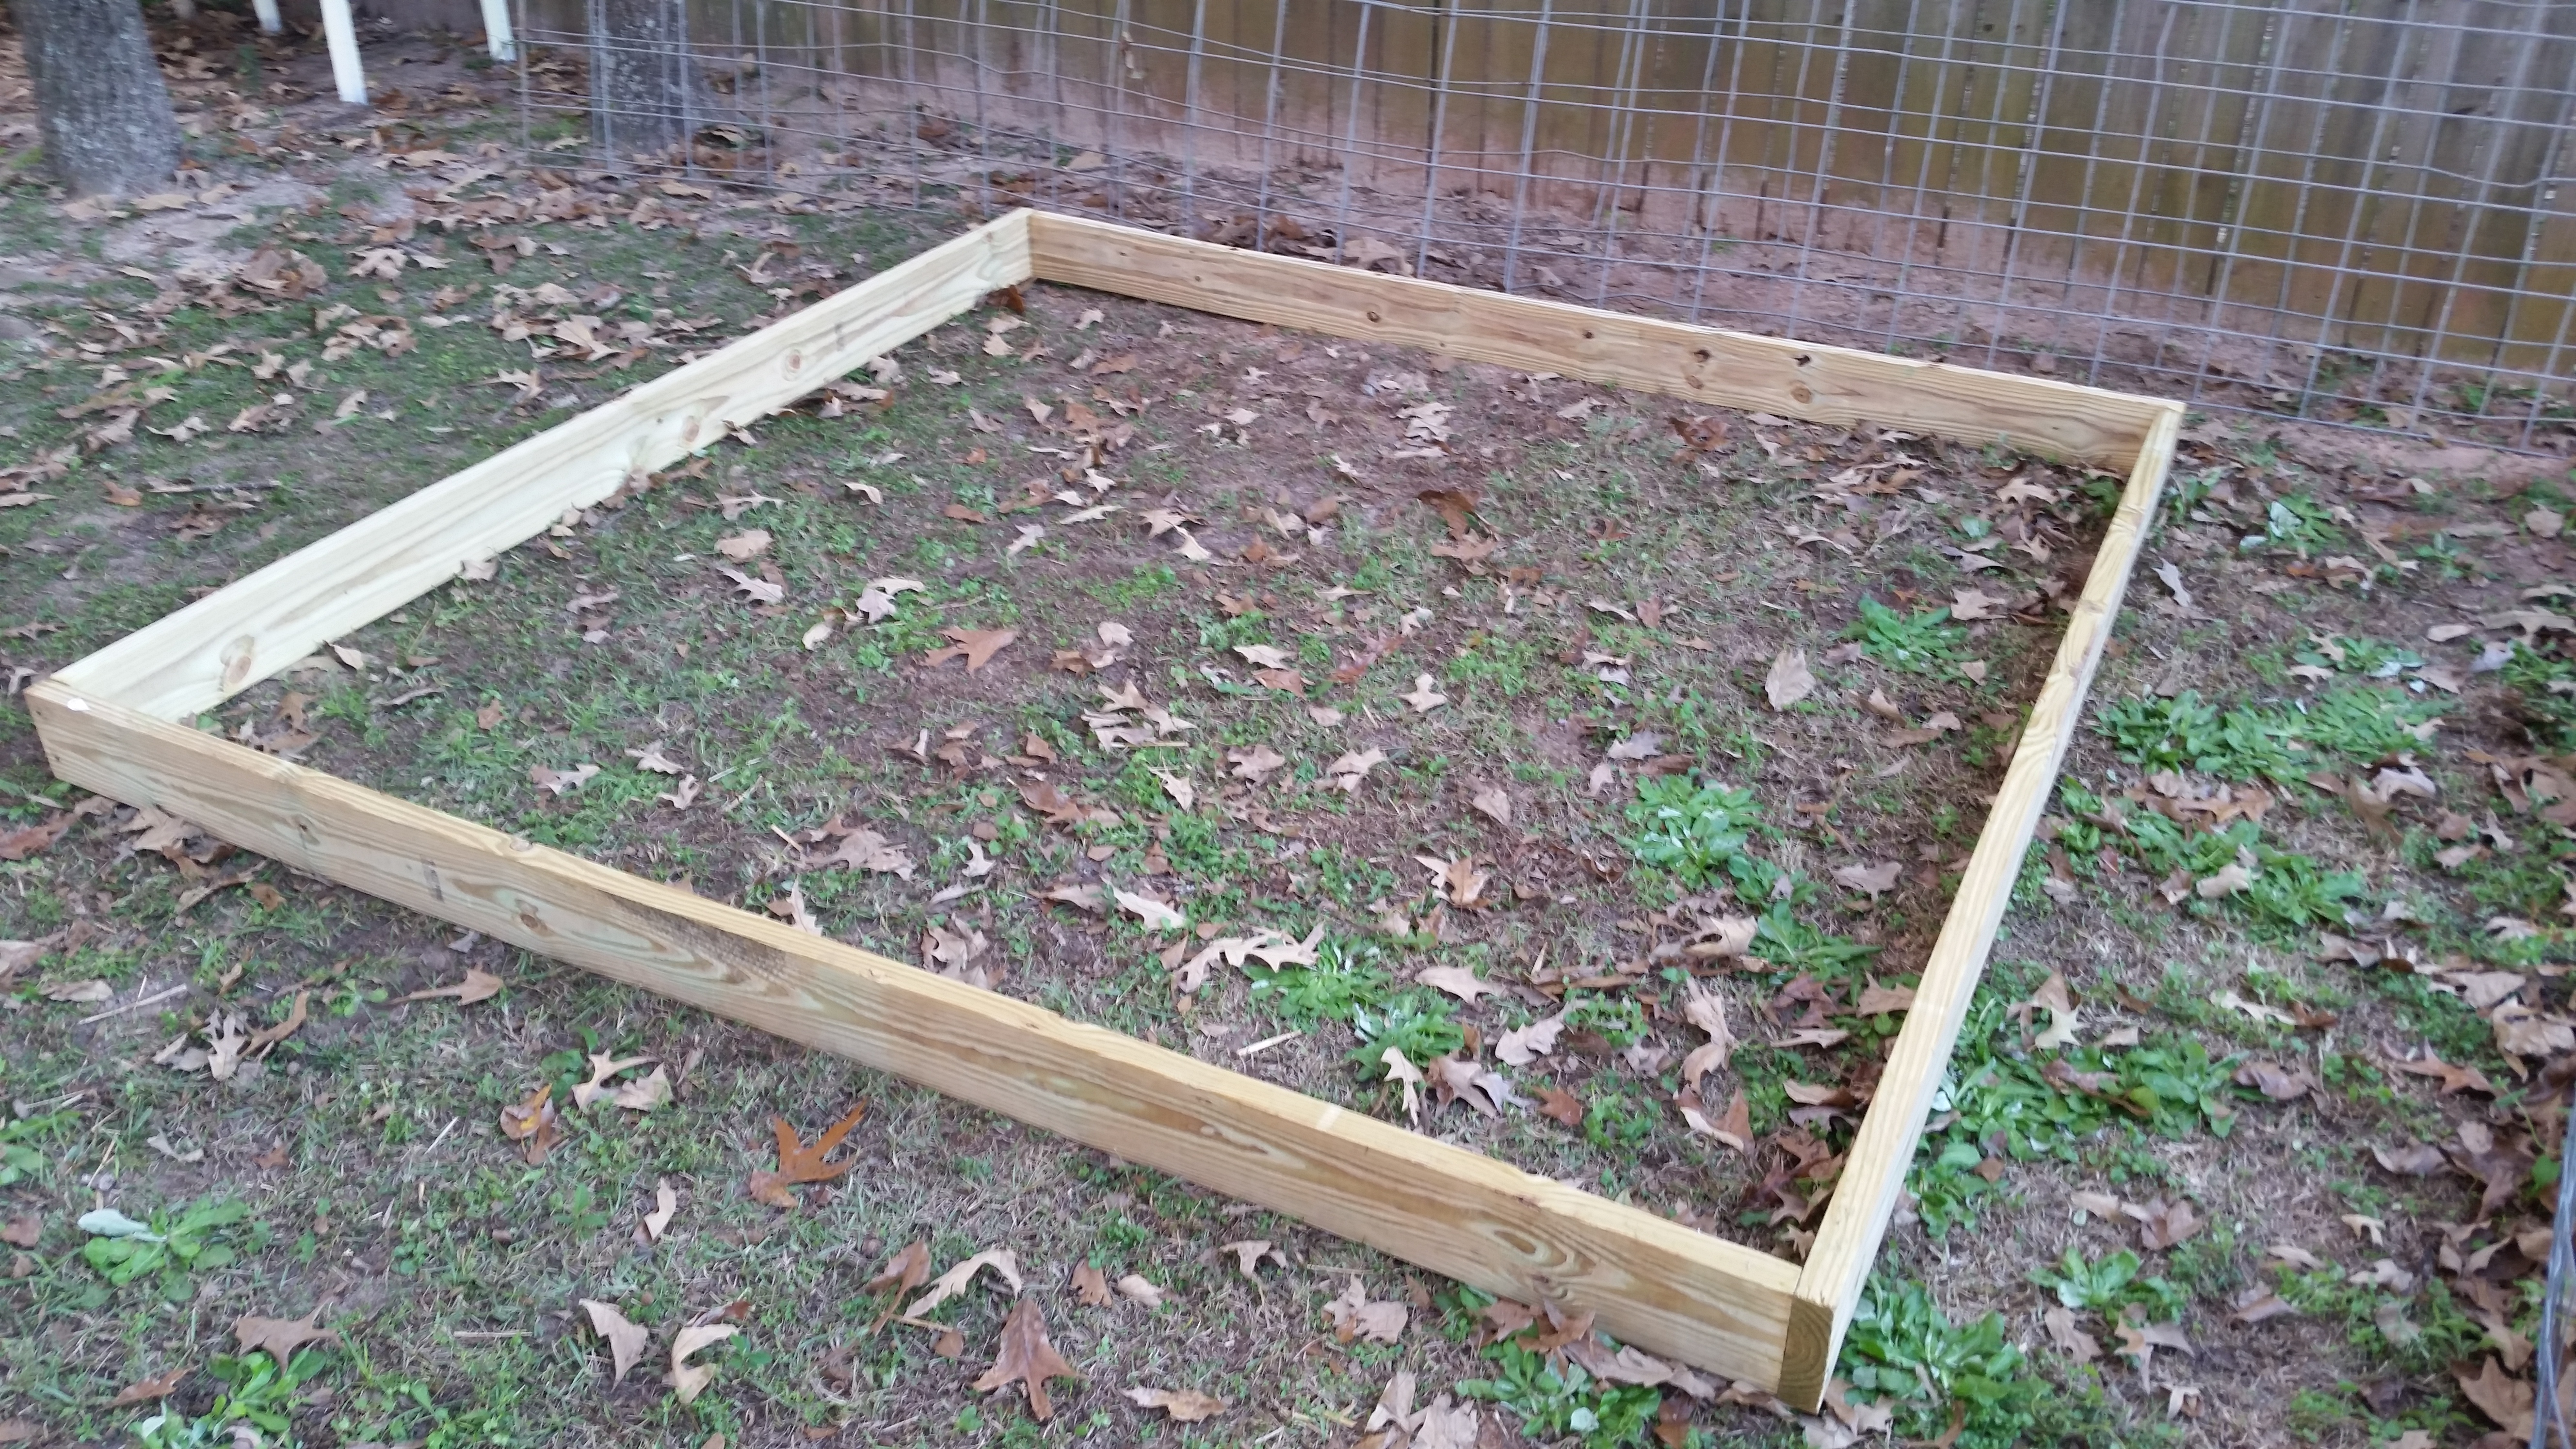
For the base of the pen I just used 3″ screws to attach treated 2″x8″s in a squard.
Once the boards were securely connected in a large 8 foot square, I brought the cattle panels over and put one end in the square against the board and pushed the other end so the panel formed an arch. Then I did the same thing with the other panel, it was a tight fit with both panel in so I had trim out one of the squares on the front and back bottom corners of each panel and slide them torwards the front/back of the wooden base so the panels hang over the ends by about 6 inches or so. By trimming out the bottom corners, I was able to butt both panels up flush with each other and zip tie them together. As soon as I got the panels secured to each other I used fence staples and connected the bottom rod on the panels to the 2×8’s so they wouldn’t pull out. One of the panels had some pretty severe bends in it from it’s previous owners so it was a little out of round. This was fixed for the most part though once I started putting the wood braces in place.
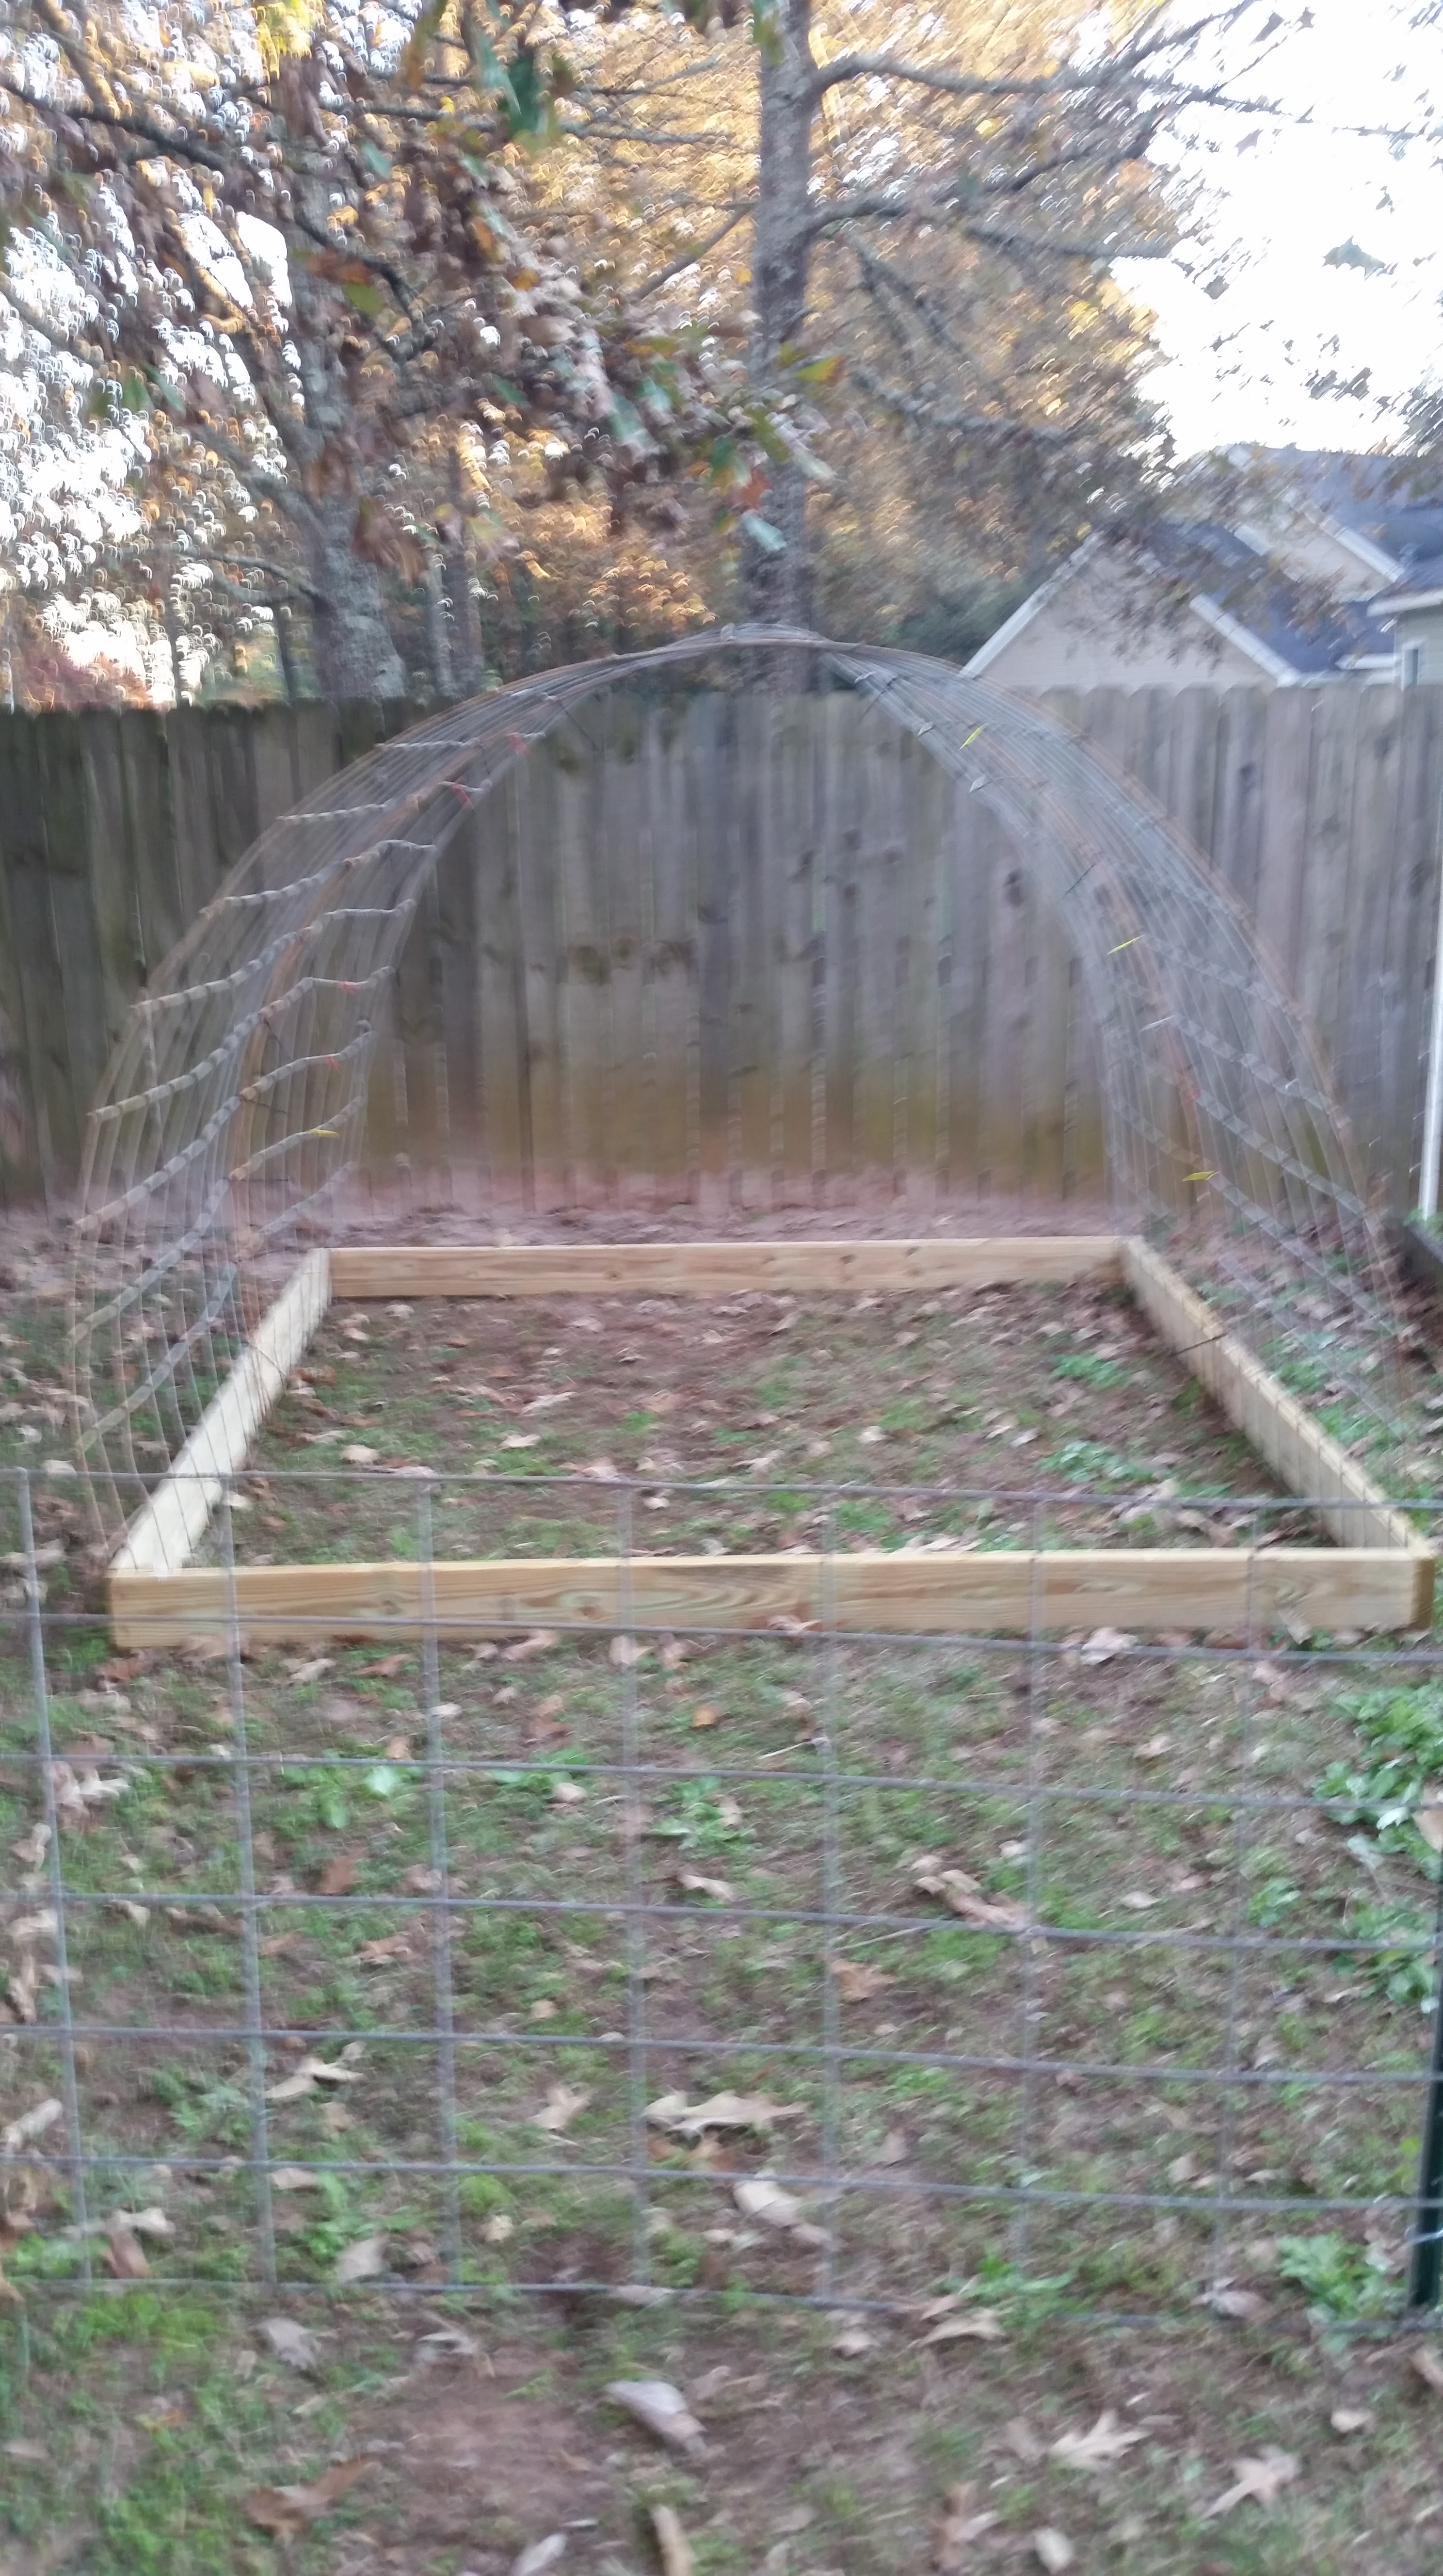
Here the panels are “hooped” up but not attached to each other or the base
Next I framed up the front and back to have something to support the chicken wire that I was going to use on the outside to keep the birds in. For the front, I cut two 2×4’s to run from the base to the top, spaced 2’ apart to create a frame for a door and also attached more supports from the door frame to the sides of the hoop spaced about 2 feet apart. The back is similar to the front without the open space for the door.
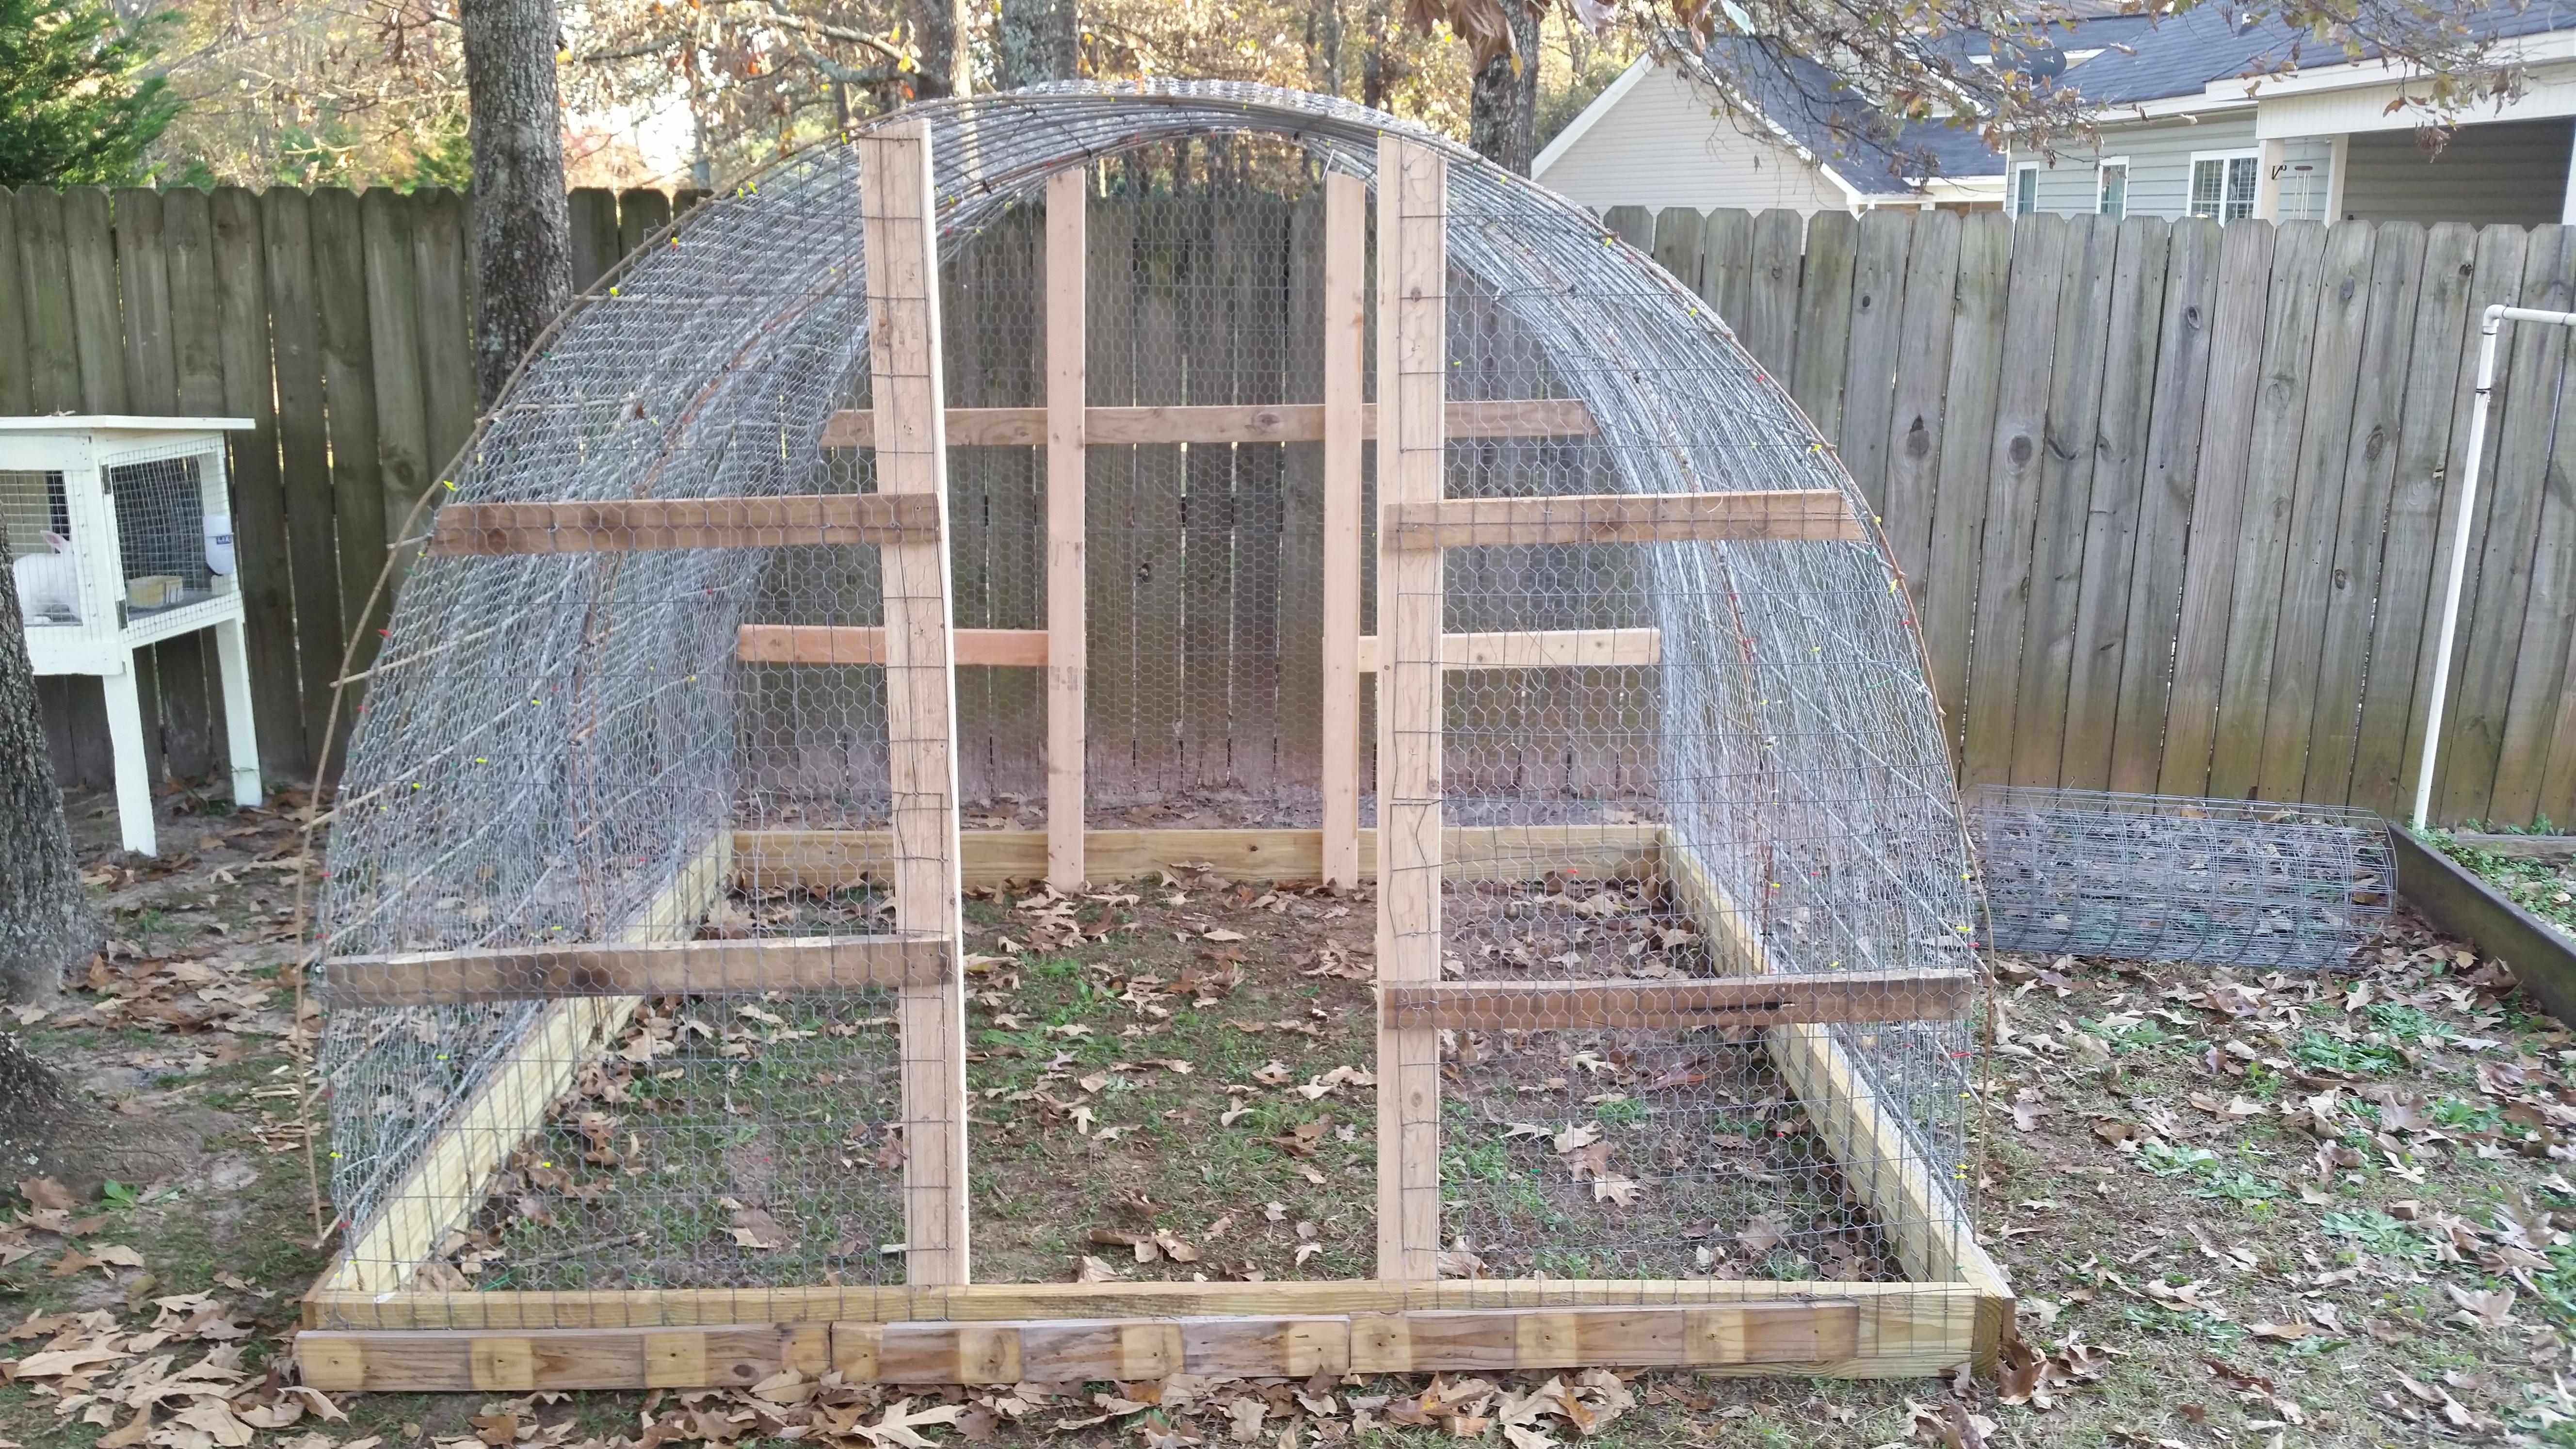
I used 2″x4″s and pallet boards to support the hoops and to have something to attach the wire to.
Instead of just attaching chicken wire straight to the boards on the front and back I decided to use 2”x4” welded wire fencing to provide some extra stability and hopefully more protection from predators. Once I was done attaching the welded wire the hoophouse was ready to be covered in chicken wire.
For the front and back I just molded the wire to the shape of the hoop (leaving the space for the door uncovered) and trimmed the excess. To attach the chicken wire to the welded wire, I used a bunch of small zip ties. I realize that they will have to be replaced eventually but it was so much easier than using wire.
When I was done covering the front and back with chicken wire, it was time to cover the top. Compared to the front/back this was a pretty simple and straightforward operation. There was no molding and very little cutting, just lay out the right length and zip tie it to the cattle panel.
The door is just a simple frame made from 2”x2” boards and covered with chicken wire. I bought a hardware kit for gates from Lowes for $7 that had hinges, a screen door spring, a handle and a lock. I mounted the door on the inside of the pen (it opens into the pen) to hopefully make it harder for any birds to escape.
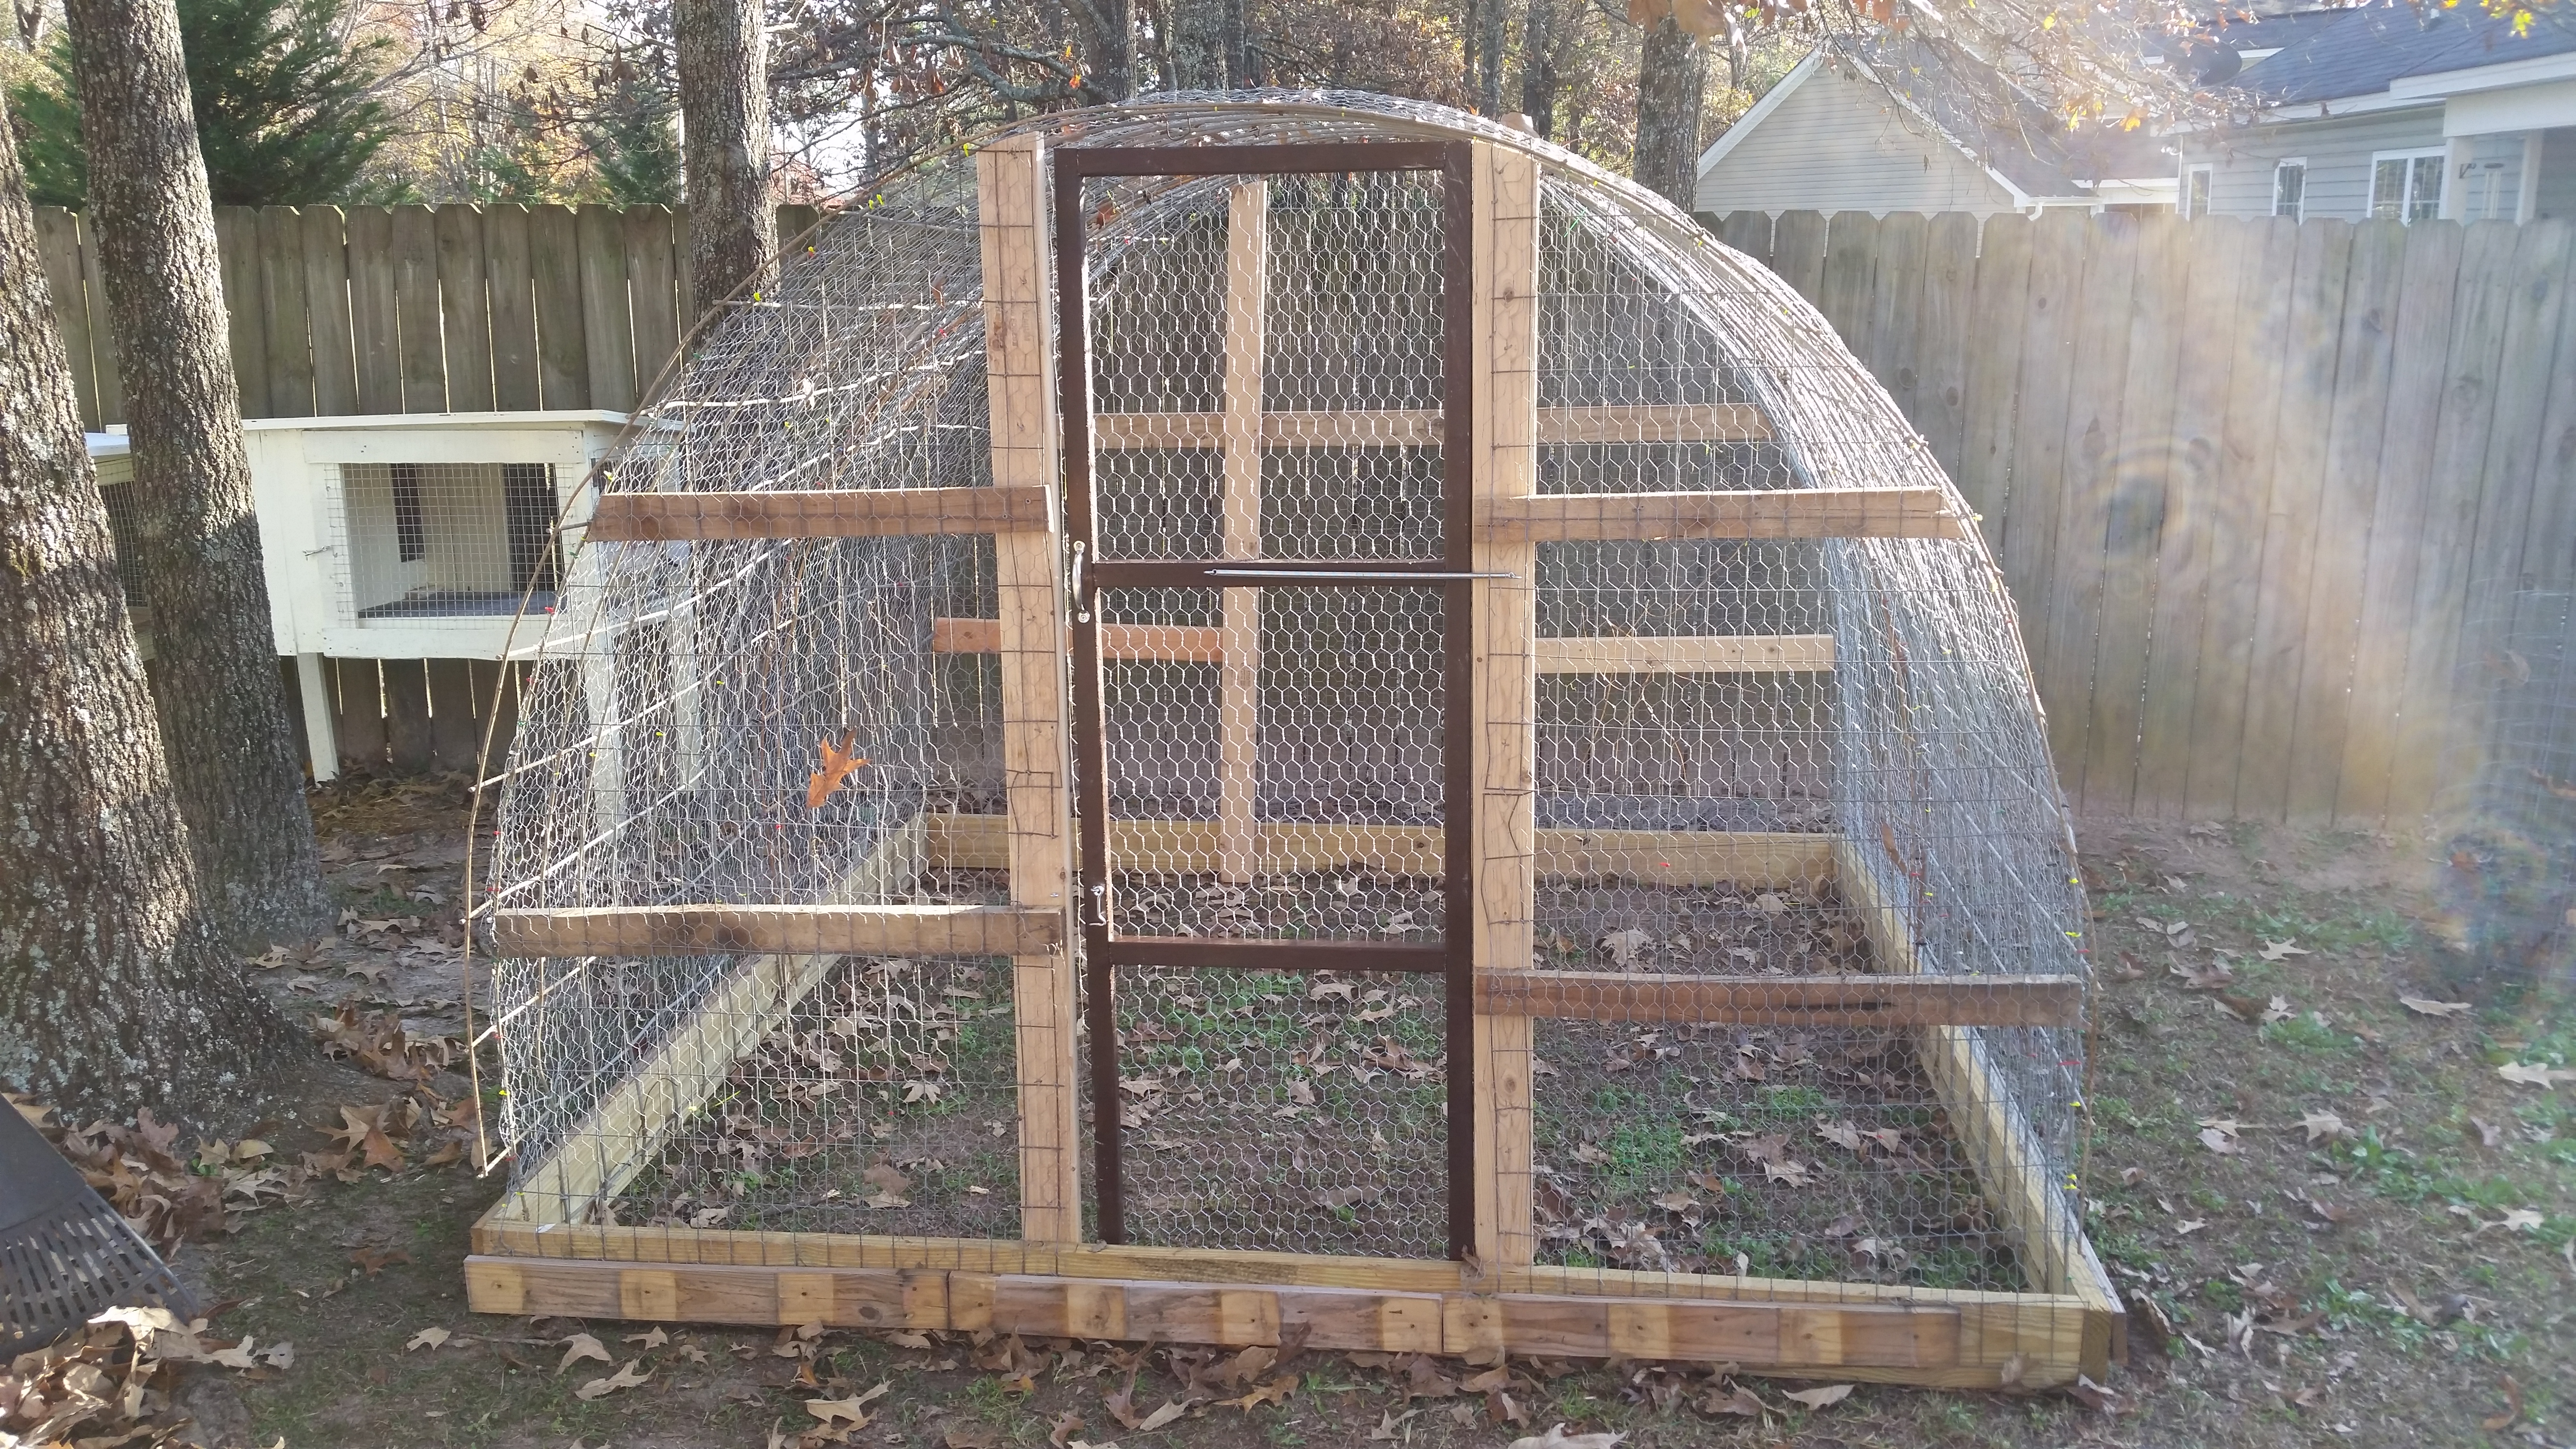
All finished except for a shelter and birds.
All that’s left now is to build a small shelter inside the hoop house to help the birds stay warm and dry and to cover the back half of the pen with a tarp to keep the rain and wind off of them.
Once I’ve done all this it will be time to find some more Coturnix quail, I’ve been scouring Craigslist and some local Facebook animal swap sites but haven’t found any that are very close by. If I’m unable to find any I will probably order some eggs and hatch them out.
All in all, this was a fun project and I’m excited to start raising quail in it. I hope everyone enjoyed this post and if you have any questions/suggestions or comments please post them.

